
Happy Pink Saturday. Please go visit with Beverly at howsweetthesound to view all the participants and get your fill of PINK. Ooops, almost forgot to put in the names of the new bloggers I visited last week. Actually, there are 4 of them and darling blogs: Postedfromhome, Rahrah, Comicallyflawed, and Lookinthenook. Go check them out and have some fun, sweet chicks.
~*~First of all, these are the first pair of shoes I made for Miss A, our great granddaughter due in May. Squeeeeeeal, she's going to be a very fashionable and pink little sweet chick. "Baby's got a new pair of shoes!" ;-)
Flash off:
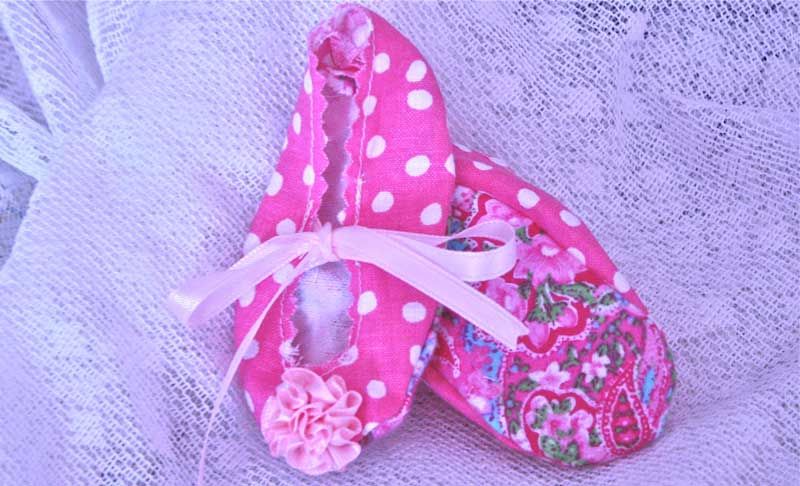
Flash on:


 ~*~
~*~Hopping around the blogs as I do and being an amateur photographer, and I do mean amateur, I notice photographs more than anything. They're the first thing that grabs my attention. I've seen them so dark I could barely make them out, and I've seen them so small when I'd like nothing better than to see them magnificently large in all their glory. That's one of the reasons I changed my template recently to the stretch one. I wanted larger photos. That's also one of the reasons I purchased a Canon Rebel XS. I wanted the best photos I could take with a camera that wasn't going to start a war with Love Bunny. But I've told you the story about that. ;-)
Anyway, since I'm by myself tonight I've been puttering around the craft room even though it's in such disarray I can barely get a space to craft. I wanted to make some more ribbon roses. And since I made it, I thought I'd share some more tips on the cameras. After all, don't we all want beautiful photos?
These are in sequence from the first one I took to the last one I took and just about all of them were different setting for light on the camera.
This one was taken with flash off, incandescent lights on in the room. See how yellow it is. I've cropped every single one and we'll go into that later.

This one was with the flash off also but the little arm lamp over the table was off. So no lighting in the room. I had this setting on auto and let it adjust itself. Not too bad.

The flash was on with this one. But the setting was on auto so it also adjusted itself.

With this one the flash was on also, but the light was turned off and the setting was auto so it turned out rather blue.

Flash off but the swinging arm light was on casting it into a very orange-ish color.
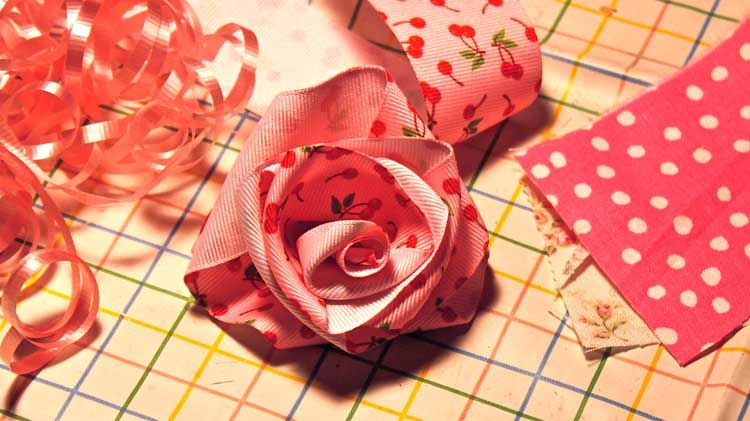
Flash on and setting was auto also on this one. No lighting was on in the room. BTW, I took these about about 7:30 pm so it was dark.

Flash off and lights on in room.

I think this one is probably the best. Flash on, backed away a bit from the table and snapped it. You don't want to get too close or too far when taking closeups. Let the camera work for you.
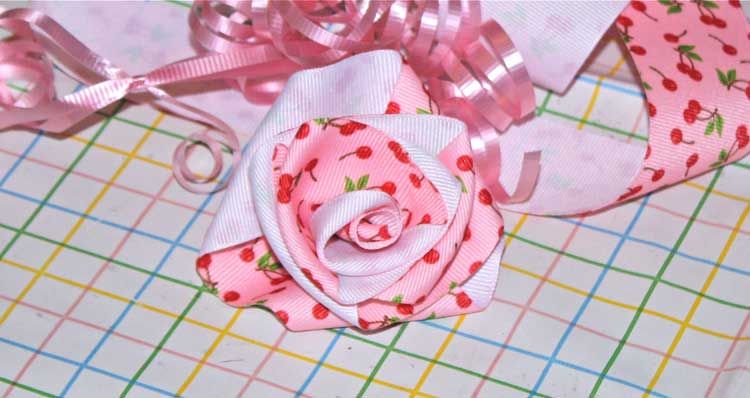
Okay, with that being said and explained very basically, the one other thing to get closeups is this: set the "Quality" of the photo to the absolute highest you can get. That will allow you the biggest pixels in width and height. My Rebel is set at 3888 x 2592, its highest setting for quality. So when I crop my photo to just show the rose it comes up really close. Every single camera has that on it. You just have to look at your "menu" and figure it out. There are a lot of settings on the new digital cameras and it is NOT as hard as it looks. When you get the camera just play around with it for a day or so. Then read the instruction book! READ IT. Then play around with the settings. As you play you'll want to reference the instructions and they'll make more sense to you after that. I can't say that enough: READ THE INSTRUCTION BOOK. It will help you get beautiful photos. Plus youtube has videos for just about any camera and they have been very informative for me in getting to know this new one. After all, you want the best you can get if your family is in the photo, right?
~*~


