
I have a post coming up soon entitled "Feathers In My Food." I think you'll want to see the creation I made. ;-)
*
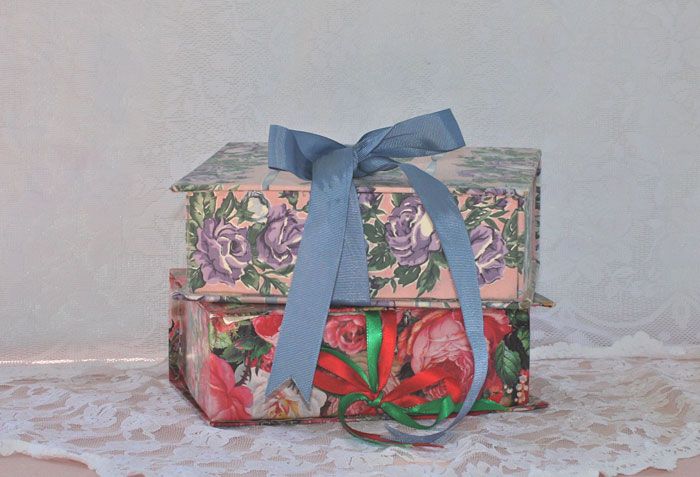
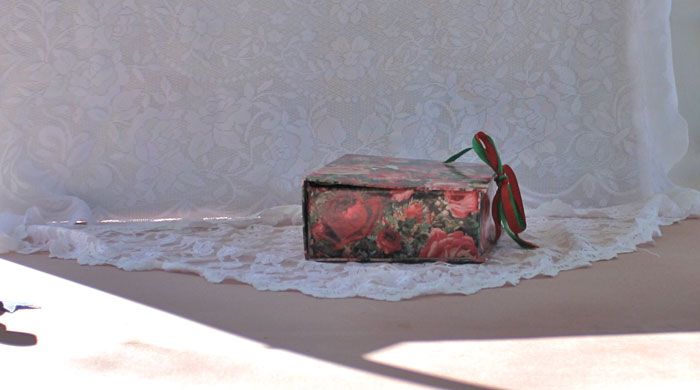
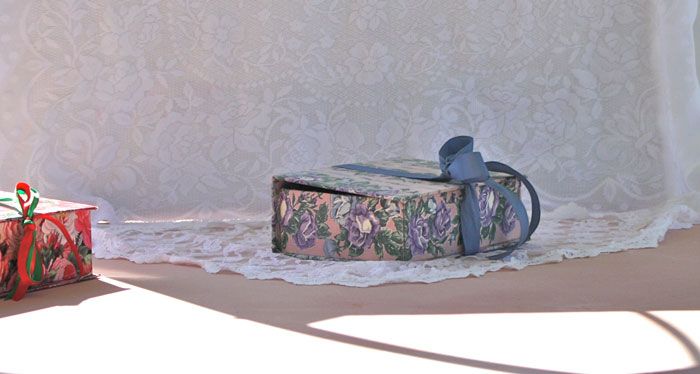
Many years ago when I was crafting every single day after coming home from my office, I decided I wanted some boxes covered in beautiful papers and fabrics. Understand now that I absolutely devoted most hours outside of work to crafting. I absolutely loved it. So today I thought I'd share how to make these kind of boxes below. I'll give you the dimensions and instructions. The rest is up to you. You can use fabric or paper; it's up to you. I've shown you two of ones I've made. The purple roses box is fabric, and the red and pink roses is that gorgeous paper I love so much from The Gifted Line by John Grossman.
*
Many years ago when I was crafting every single day after coming home from my office, I decided I wanted some boxes covered in beautiful papers and fabrics. Understand now that I absolutely devoted most hours outside of work to crafting. I absolutely loved it. So today I thought I'd share how to make these kind of boxes below. I'll give you the dimensions and instructions. The rest is up to you. You can use fabric or paper; it's up to you. I've shown you two of ones I've made. The purple roses box is fabric, and the red and pink roses is that gorgeous paper I love so much from The Gifted Line by John Grossman.
They are approximately the same size. I'll give you the instructions and measurements but it's up to you to do the construction. These little boxes are more for show than actual storage boxes; although, I keep pencils in them or my sealing wax and Dyno Label Maker in the other one. But I wouldn't keep anything heavy in them. Again, just for show. ;-)
You'll need foam board. I used 3/8" so that I could "score"—meaning to go a bit of the way through the foam board without cutting all the way through so you can bend it. You'll need to bend it but keep it together. For my size box below, I cut a piece 16" long and 8 & 3/8" wide. I scored it at 6 & 1/2" from the one end and then 9 & 1/2" from the same side. Or in other words, I scored it 6 & 1/2" from each short side. I then bent it carefully as to not split it. Be very careful. Then I cut another piece of foam board 28 & 3/8" long and 2 & 1/2" wide. I scored that piece at 6" and at 7 & 3/4". Using glue to attach together the 2 ends of the LONG piece I scored.
You cover it with your paper or fabric before you start making it, just after cutting it out. Then you glue. I used a glue gun. You can use any glue you want that sticks though. After covering the large piece and the long piece, you glue it together. Then I hot glued a ribbon around it to secure it.
I've read this so much I'm not sure if it makes sense to you, but if you want to try this and it's not clear, email me and I'll help you all I can. It truly is easy.
These boxes are 6 & 1/2" front to back and 8 & 3/8" wide and 2 & 1/2" high or deep.

*
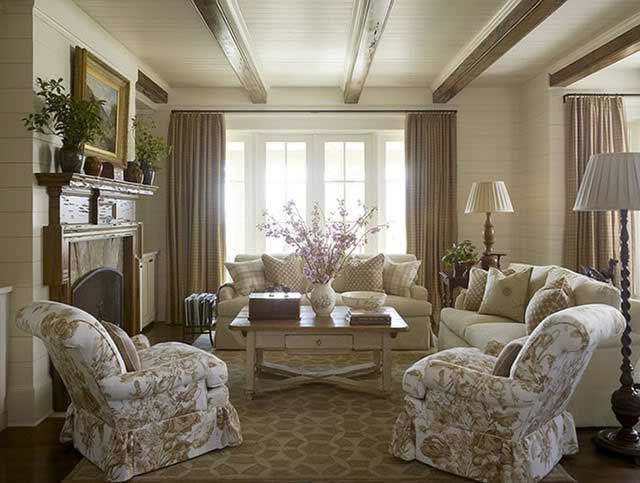
I love this living room setting. Just the way the homeowner has everything arranged, very cozy.
A beautiful approach to a rustic door.

Okay, no privacy here at all. I'd feel like Sasquatch was always watching me.

Just simple eye candy for you.
Be still my beating heart. However, I would keep wondering when it is going to come crashing down on my head. Looks a bit heavy.

Smiling at ya!
I don't know whether this is a fabric or a painting but it's one of my favorite photos of roses.

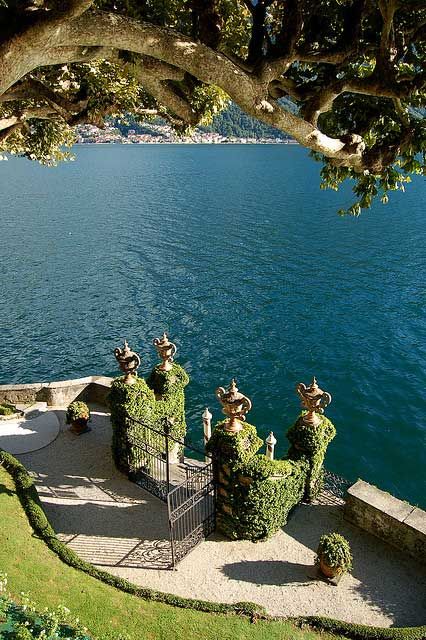
Just a beautiful setting for you. Very peaceful.
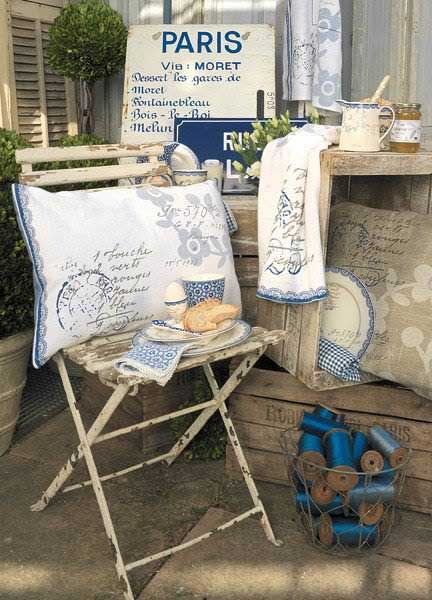
Sweet vignette at a bistro.
An old Victorian in San Francisco, my favorite city in the whole world. I love shopping there.

Did you hear that the mailboxes in the hometown of an Olympic Gold Medal Winner in the UK gets its mail boxes painted gold? Usually the boxes are a bright red. But what a sweet idea to help the hometown men and women celebrate a hometown victory. Bless their hearts for doing this for them!

~*~


Your boxes are just lovely, I want to make one.
ReplyDeleteWe have a mail box coloured gold not far away from us, for one of the rowers in the Olympics.
Hi Connie! Your boxes are so beautiful! I have not read the instructions but I will be back to take notes. This is something I really want to try. The trick is to find the fabric or paper that will make me happy when I look at it. My favourite is the one with the purple roses. Thank you so much for the tutorial!
ReplyDeleteThe boxes are just so lovely and Im loving the beautiful pictures! The painting of mail is soooo sweet!
ReplyDeletehugs,
HI CONNIE!!! How are you? Congratulations on your new little grt grand girl on the way! That is so exciting. I'm just thankful to have my one little grand daughter. Don't they grow up so fast? I just hate we live so far from her but we make the best of it. Thanks so much for popping in to see me and I love your pretty boxes you've made. I've seen some like these in gift shops before. You're the best! :)
ReplyDeleteBe a sweetie,
Shelia ;)
Hi Connie, We watched the debate and Romney was an absolute winner. Obama was clearly uncomfortable and he came off not prepared. He needed a teleprompter because he can't think for himself. His inexperience was obvious. You would have loved it.
ReplyDeleteI love your boxes and the instructions are not difficult. I am going to give this a try.
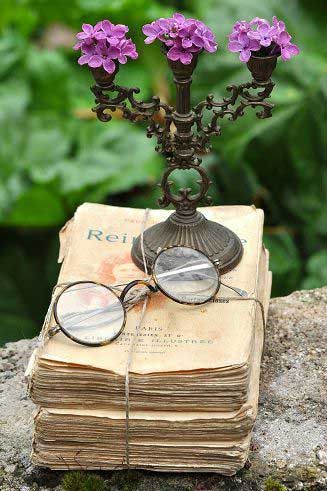
I always love your photos and my fave was the stack of tied papers with the glasses and what I think was a candle holder with flowers.
Enjoy time with your son Connie. We just spent nine days with ours in Raleigh. Good times.
xo Jeanne
Gah! That nesty bed crown is fabulous but you're right I would wonder when it would crash down. :)
ReplyDelete