My life is to make everything around me beautiful.

Thursday, March 18, 2010

Winner!

Sorry I didn't post this last night but things were a little chaotic around here. However, our winner is

Mary of Blushing Rose

Congratulations, sugar. I'll get the tassel in the mail today or tomorrow.

Wednesday, March 17, 2010

Chili and Random Thoughts

Still working on the craft room. I'm just taking my time putting things where I'll need them. Love Bunny helped me with a different table. I needed more room than the desk provided so we made our own. I'm now in the process of rearranging the shelves. Still a lot of junk, ooooh, excuse me, I mean very valuable stuff to get rid of. ;-) You have no idea what is to the left of that table and behind me. It's pathetic, I tell ya. Up until tonight I could not even walk in that room there was so much valuable stuff on the floor and on the previous table. I'm wanting to scale down to just 2 tall racks in the room instead of 3 stuffed ones. *Sigh*.......

~*~

I've experimented with chili recipes over the years and about 8 years ago I came up with an excellent one. I may have shared it before—just can't remember, but I thought I'd share it again because it is reeeeeally good. I found that when I used special chili powders and not the one you usually find in the spice section at the local supermarket, it really made a difference. These chili powders aren't as bitter as the common chili powder.

Beef steak - I can use the cheaper steaks and it's great as it cooks all day. I can also get the meat in the markdown section of the meat department. But a cheap steak will be wonderful in this recipe.

Pinto beans - 3 handfuls

Navy beans - 2 handfuls

Kidney beans - 1 can with water. Don't drain anything in this recipe!

Onions - 2 or 3 chopped

Butter - 1 tablespoon butter not margarine or anything else. Butter gives it flavor.

Garlic - 3 shakes of dried flakes

Tomatoes - 2 large cans

Cooking wine - 1 cup

Red wine vinegar - 1/4 cup

Bell peppers - I use about 1/2 of a pepper

Sugar - 1 tablespoon

Chiles - 2 cans diced green chiles

Pasilla chile powder - 1 1/2 teaspoons or to taste

New Mexico chile powder - 1 1/2 teaspoons or to taste

Cumin - 1/4 teaspoon ground or to taste

Salt and pepper to taste

I put the butter in the pot and add steak and onions and brown till the onions are caramelized. This makes them sweeter. Then add the green pepper, green chiles, tomatoes, can of kidney beans and spices, sugar, vinegar and wine. The alcohol will dissipate when it cooks for hours for those of you who don't drink alcohol. I don't either.

The dried pinto and navy (small white) beans I put in a pot with just enough water to cover them and cook for several minutes until they just begin to start shriveling. I then add the dried beans from the other pot along with the water.

I then cook it all day and it is delicious. I suggest you season it to your taste with more or less chili powders, sugar and salt. I use about 1/2 to 1 pound of meat for a big pot. It's truly a simple recipe but you can't substitute anything here as I'm recommending to you. White or cider vinegar CANNOT be substituted for red wine vinegar. Same with butter, chili powders, etc.

Yummmmm!


~*~

Random Thoughts:

Worry is the anticipation that the outcome will be bad.
Faith is the anticipation that the outcome will be good.
Faith in God is the anticipation that whatever the outcome, it will be for your good.
*

How does a walrus sleep with those 2 enormous tusks?
*

Why can't they make tearless shampoo for adults?
*

Why are all pizza parlors dark?
~*~

Monday, March 15, 2010

Mosaic Monday 3/15/2010

Welcome to Mosaic Monday hosted by Mary at Little Red House. Visit all the participants and enjoy browsing all the Mosaics.

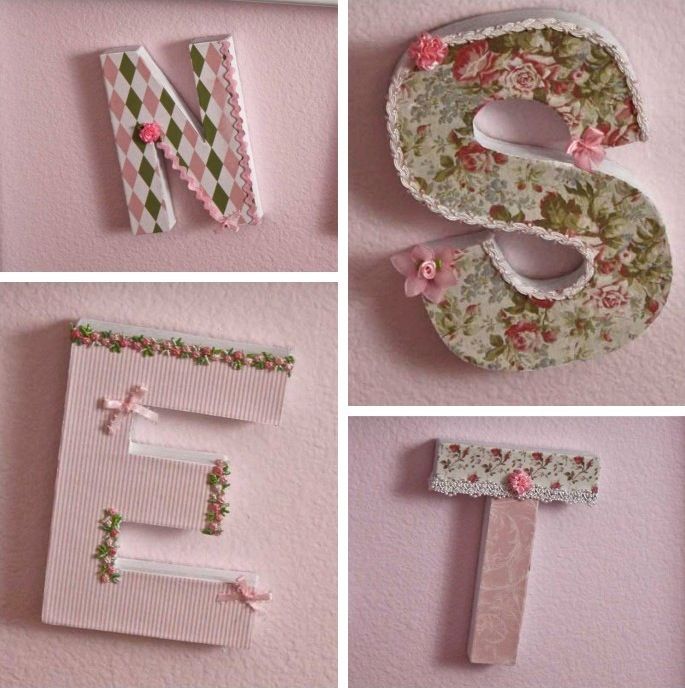
Here are the little letters I made and are on our family room wall under our mantel. For me it almost says it all. Home, nest, family, love.
~*~

Sunday, March 14, 2010

Another Giveaway for You!

First of all let me tell you that with many inquiries from fellow bloggers lately I've updated my tutorial on templates and photos. Please click on my sidebar "Blogging, Photo and Watermark Tutorial" to view some help with those issues on your blog. It's definitely worth your time.
~*~

Didn't I tell you there would be a giveaway? Yesssss, I did and here it is. Now, to be eligible you must be a follower of mine. It's that simple, truly. I'll draw the name on 3/17/10 in the evening and will announce it, but please leave me a way to get in touch with you. I wanted it to be short, chicks.

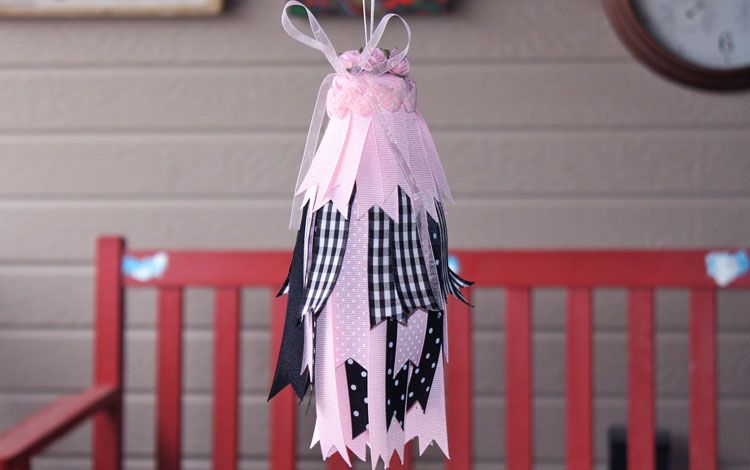
So that being said you have the chance to win the tassel pictured below by just commenting here on this post. The winner will receive this tassel I made. It's my first attempt so don't expect a perfect tassel. ;-)
~*~

Saturday, March 13, 2010

Making Ribbon Roses for Pink Saturday 3/13/2010

Welcome to Pink Saturday again. Visit Beverly at HowSweetTheSound for the other participants. Last week I visited Tobi at pinkpixieforest for the first time and it was adorable!
~*~

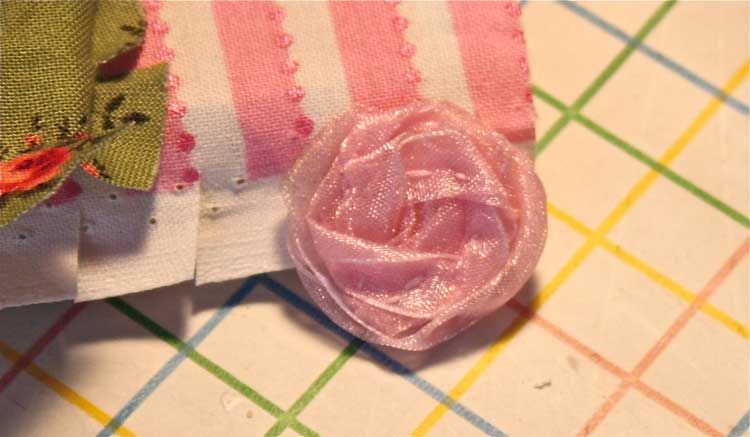
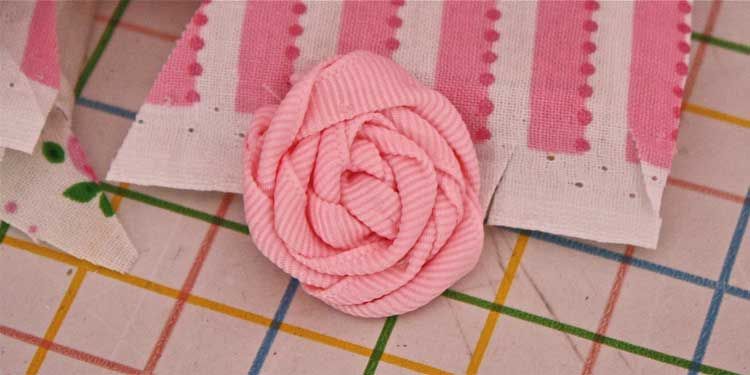
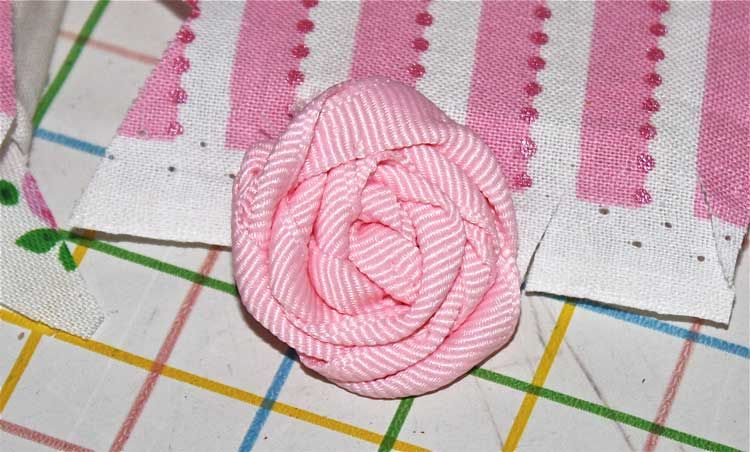
I had a few strips of ribbon left over recently—and being one to not waste perfectly good ribbon, I tried a rolled rose with a 12" length of ribbon. It turned out rather well. I tied a knot in one end and just started twisting and turning tightly and then did a few stitches in the back to hold it together and am well pleased. Try it. You could even use smaller lengths of ribbon so as to not waste it.


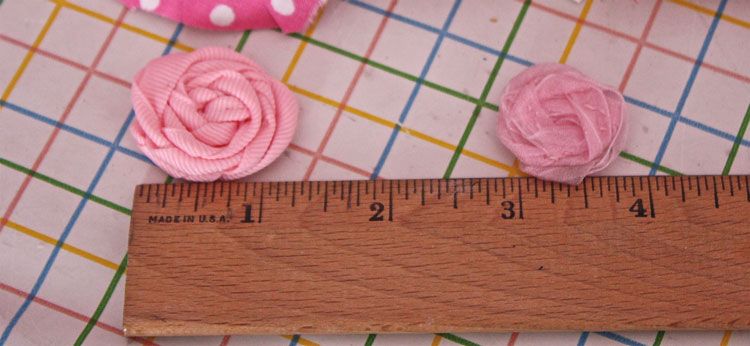
This shows how big they are at 12 inches length. The one on the left is grosgrain and the one on the right is organza. Practice!


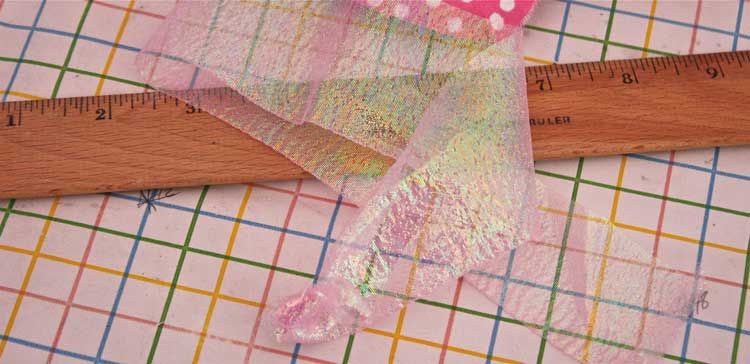
This is a piece of iridescent fabric I've had for ages not knowing what I was going to do with it. I probably got it out of the remnant bin at Joanns. Anyway, it wouldn't tear so I cut it about 1 1/2" wide and didn't measure so it's uneven but it was about 15", knotted the end and just started twisting and rolling it and putting in stitches as I went. Easy peasy and you have a really unique and pretty rose when you finish. You could even do this as you're watching TV in the evening. That's how easy it is. Just a few minutes per rose.

Finished it turns out to be about 2" or a bit less. I glued a tiny remnant of an embroidered rose to the center to hide a mistake I made. Beau, non?! :-)

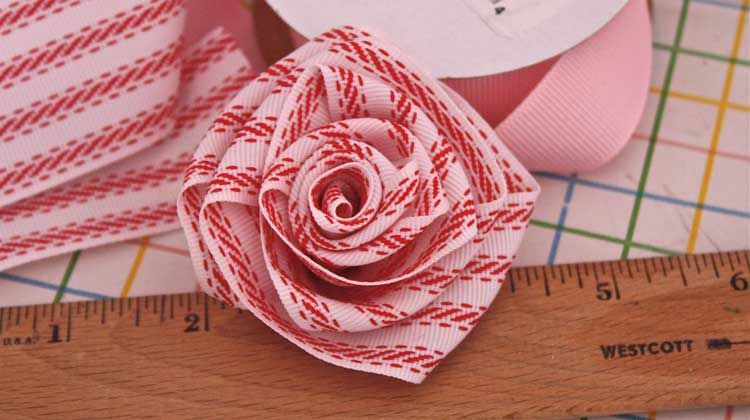
And even some ticking ribbon can make the sweetest rose. ;-) BTW, how are you liking my new photos from the Canon Rebel? I'd truly like to know. I'm trying to perfect them, ya know. ;-)

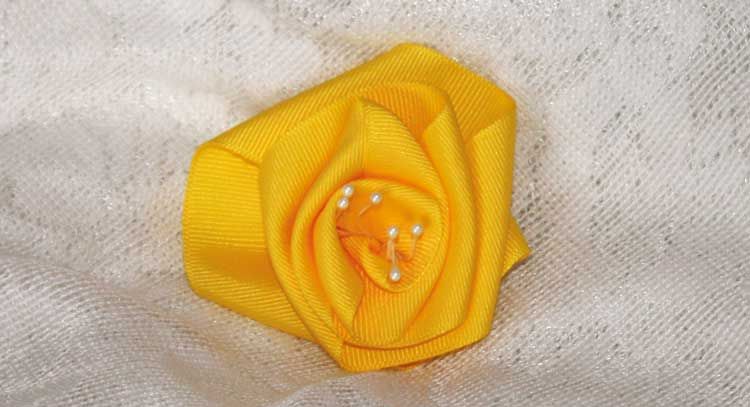
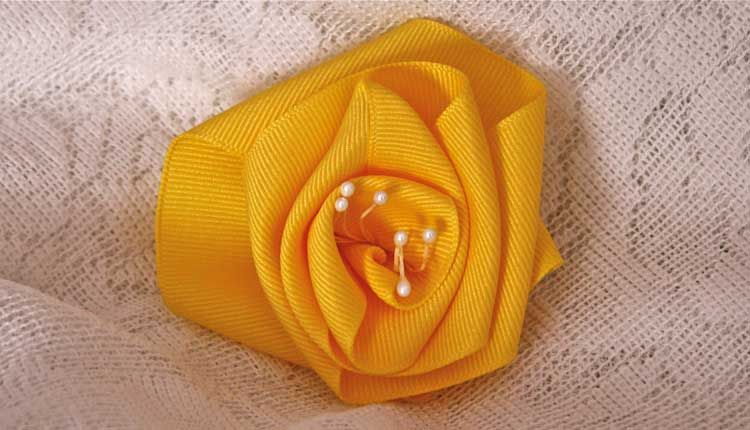
And you thought I couldn't do yellow. Hah!

Just as an aside, this is late in the afternoon when the sun wasn't coming in the window across the room from this rose. See the difference from this one and the one just above it. I used no flash on this one and several of the ones above. I just let the natural light from the window flood in and then adjusted in my iPhoto—an Apple Mac application for photos. For this one below here I leaned in quite close so a bit of the light from the window was obstructed. The one just above here is where I stepped back and let more of the natural light come in. I'm nowhere near a pro, just a chick who wants to help y'all. ;-)

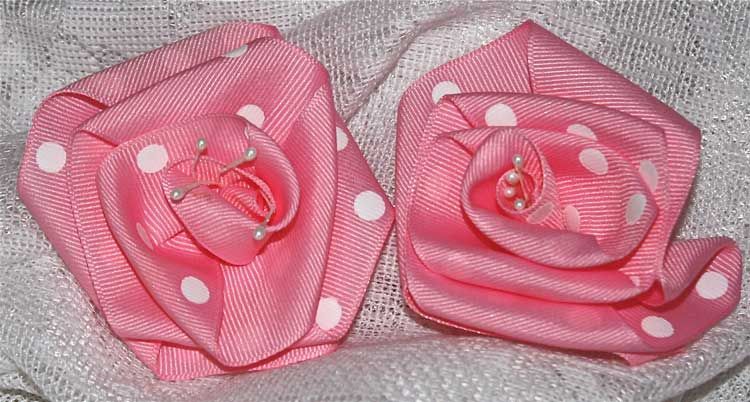
Flash on:

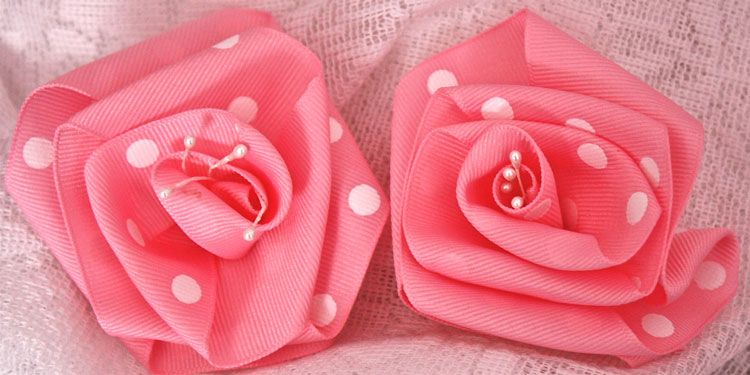
Flash off letting the camera use the natural light:

Now for one last statement and I promise you that's it. Don't think for one minute I didn't adjust the settings on all of these photos. I adjusted the exposure, contrast, definition, shadows and sharpness. And when needed, I adjusted the temperature and tint to get the most accuracy in the truest of all the colors that I could. It's all work no matter how you look at it, but you'll have some of the best looking and sharpest photos on the blogs, chicks. I can promise you that.
~*~

Oooooh, and a giveaway is just "around the corner", gals. Keep very close watch. ;-)
~*~