My life is to make everything around me beautiful.

Wednesday, November 25, 2009

Happy Thankful Thanksgiving

I wish each and every one of you a Happy Thanksgiving. We'll be traveling this day to visit our granddaughter so I wanted to put my feelings in this post. This is exactly how I feel this time of year: Thankful. Thankful for family, home, love and my Savior and His sacrifice for me. Especially love. Please just take a moment and ponder things that are so much bigger in this world than having "stuff." My best to each of you and my sincere thanks to each and every single one of you who deems me worthy to be viewed. You bless my life more than I could ever tell you and I hope and pray I touch yours in some small way. My heart has been very tender lately with feelings for the love we show each other. Again, Happy Thanksgiving and Merry Christmas. That's what life is truly all about.
~*~
Connie

Tuesday, November 24, 2009

New Kind of Roses

Since I have to make some things—having been challenged by my eBay group—for my Christmas tree next year, I've been looking at some inexpensive things I can make along with some purchased balls. I found these scrunched flowers and though I'd share a tutorial with you.
They are originally made with card stock and this is what I had on hand tonight; although, I did make some with coffee filters since I have a glut left over from making the roses. Do NOT try the coffee filter roses if you've had too much caffeine! It could be detrimental to your well being. Trust me on this one! Stick with these "scrunch flowers."

Anyway, I'm going to show you how to do both and the difference. Yes, there is a difference. Coffee filter ones are very soft and "floppy" while the card stock dries rather rigid.

As I said I used what was available and I had these water colors so I used them on both. I'll try acrylic paints later. I also learned some valuable lessons you won't have to bother with since I've found all the hard things beforehand. ;-)

I made a template out of a sheet of copy paper. You will need 2 sizes and this is what I started out with: the large one is about 4" wide...

...the small one is about 2" wide. I think this is too big so I'll do some smaller next time.

Size comparison for you.

Cut 3 pieces of the large one and 3 pieces of the small one.
Then spray a mist of water on each of the six flowers. Mist, not saturate and punch a hole in the center after placing all 6 together. Then scrunch it up into a tiny little ball—all six pieces. Scrunch, scrunch and more scrunch! Put a brad through them starting with the smaller 3 first and then adding the 3 larger ones.

This is the coffee filter one. Very pliable.

This is the card stock one. I experimented with the watercolors. Dabbing gently on pink and then yellow.

The two of them side by side.

This morning I got up and did this one with card stock and photographed it out in the early morning light so it has that ethereal blue light that comes just before the sun peaks and peeks over our horizon on this side of the world. I love it but it doesn't give the brightest and best light. The others were taken at my kitchen table at night with incandescent light.

This one I did with the original size of the small flower but decreased the size to 2 3/4" for the large flower. I like it much better. I shall try it again with 2 1/2" for the large flower and 1 1/2" for the small flower. I, also, did the watercolor with a brush that was almost dry. I wet the brush, dried it off with a paper towel and then stuck it right into the red paint in the paint tray. I didn't dilute it in a bit of water, just almost full strength and touched the ends very lightly with the brush. You can experiment on your own for the look you prefer. Very easy and cheap.

Okay, since Love Bunny is tired of having all this stuff on the kitchen table I've decided to skip the "coloring" part and just use plain white card stock for this one. My craft room is in such a disarray that I can't even function in there. Yikes. I guess I'd better clean it up a bit, but I needed a bunch of space on a table top to do this experiment. Hence, these are the last ones for a while until after Thanksgiving.

These were the easiest and quickest. I used a compass to make 3 circles 3" round and 3 circles 1 1/2" and cut them out with some fancy schmancy scissors, scrunched them unmercifully after misting them and then glued them together with a button glued into the center. Use your creative mind and put things other than buttons in the center. Some glue and glitter in the center, a piece of jewelry, ribbon bows, bottle caps or anything you desire can be adorable. I don't know if I'll be making a bunch of these for the Christmas tree next year but I shall make some. I am going to also make them out of scrapbooking paper in pink with roses. With those I'll not mist them at all. I think it is thin enough to just scrunch, glue together with a button and put a little ribbon on them to hang from the tree or simply stand them on a limb for fillers.


Okay, okay, I just couldn't stand it without pink so I went ahead and just dabbed pink acrylic craft paint on the edges and look how much more depth this gives it. This last one is definitely the easiest and quickest flower.

This is absolutely, positively the last one before I publish this blog post. Again, the easiest way is to cut circles, scrunch and glue together. Very, very quick. I used 2 different designs of paper here and put some glue in the center and sprinkled it with some glitter. No spritzing the paper this time. Oooh, and I did a 1 1/2" on the outer one and 3/4" on the inner circle. A very nice flower for a card. Cut out several and have on hand for whatever occasion you have.

These would be absolutely great for making cards and putting a flower on them. Quick enough not to get too involved and you can make several ahead at one time and have them ready whenever you might need them. After all, they can't get any more "scrunched" without looking even better! Happy crafting!!!!
~*~

Monday, November 23, 2009

Show Off Your Cottage Monday 11/23/09

Welcome again to Cielo's SOYCM. Click to visit the other participants and enjoy looking into our homes.
~*~

As I've said, a great deal of my time each day revolves around this office. I believe in beauty in all I do and having it around me. This is my mouse pad and my note pad I use. Pink is the main color in this house.

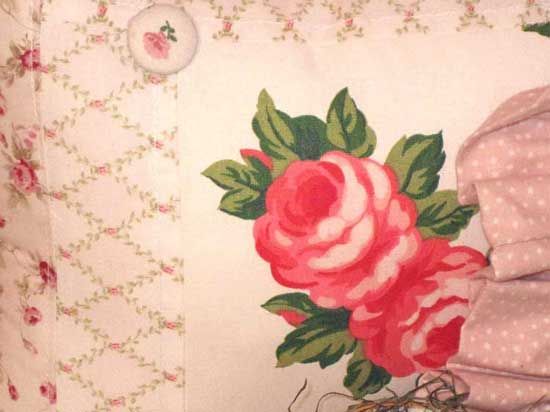
A small pillow I have from an out-of-print Cyrus Clark fabric. It sits on my window seat in this office. I can view the street from this perch in my office but I don't really look out the window much when I'm on the computer.

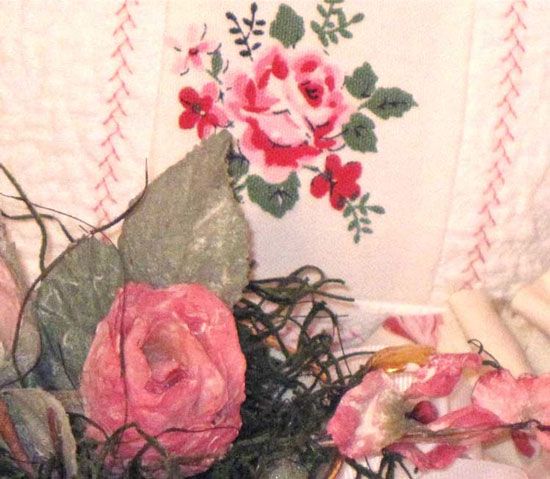
Another tiny pillow I have that I made from an antique Wilendur tablecloth. That little rose in the bottom of the photo is a little Old Country Roses teacup my daughter gave me and I made a small hanging arrangement out of it.

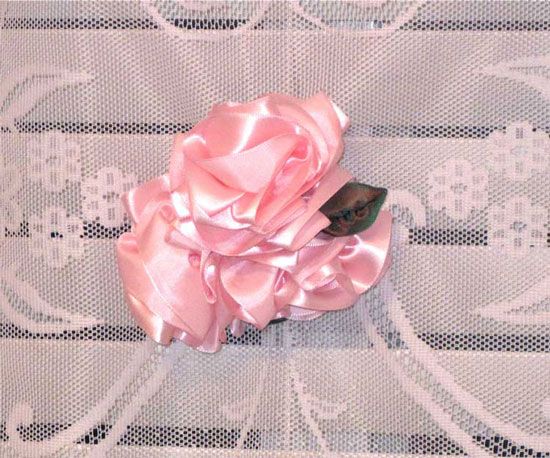
The ribbon roses I made are on a vintage lace curtain that adorn that window.

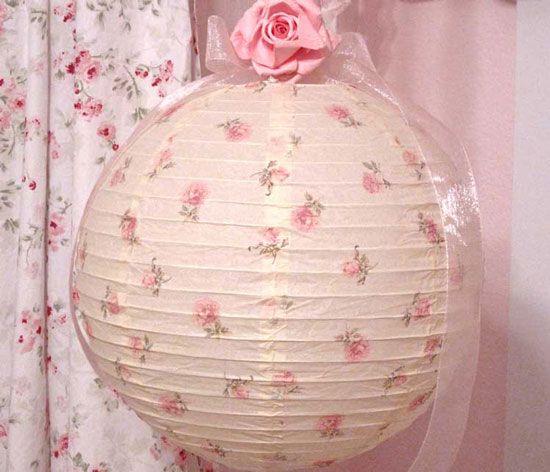
One of a pair of hanging electric paper lantern my daughter gave me. There is one on each side. I added the roses and ribbon. They give the most romantic light at night.

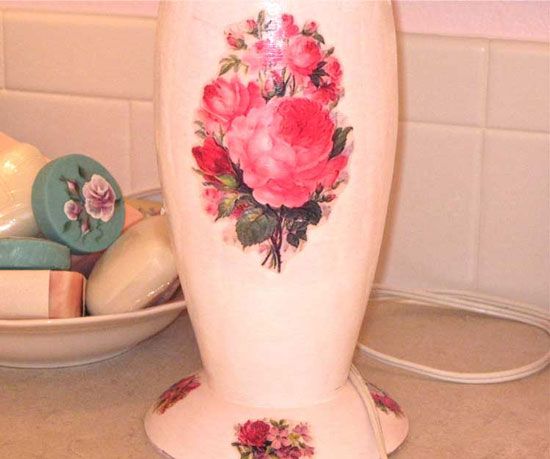
Another lamp I froufrou-ed up many years ago. I buy them at garage sales, paint them and then decal, decoupage or paint roses on them.
~*~


I'm very grateful to be able to stay home. I know a lot of women want to work forever but not me. Also, some don't have that luxury. I'm very fortunate that I have a wonderful hubby who can support me to be here when our adult kids call and want to chat with me. I'll be forever grateful for that.
~*~


Sunday, November 22, 2009

For My Porch

I'm going to tease you a bit with this one, chicks! First, little snippets of what I just made before we come to the BIG image. Now don't go sneaking down to the bottom of the post. Shame on you; you peeked!!

It's very windy in our city today. Cold and sunny though. My house isn't a great one for taking photos so I did the best I could.

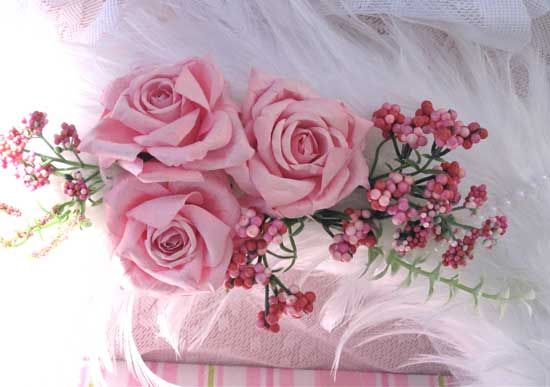
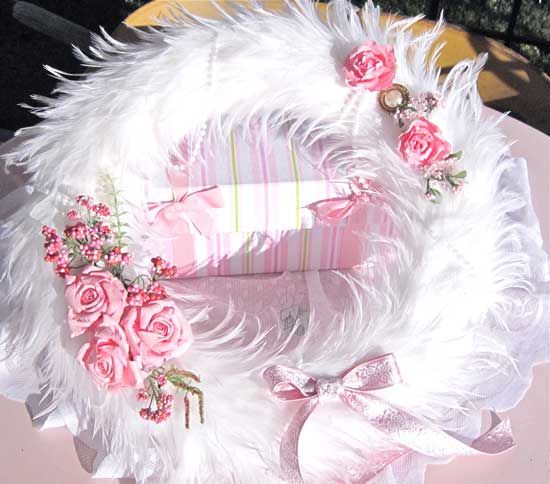
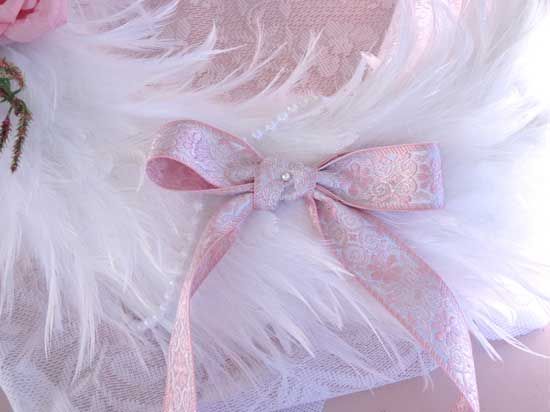
A trio of paper roses along with a feathered background and some little faux flowers.

An exquisite embroidered ribbon that I attached with 3 pearl tip pins.

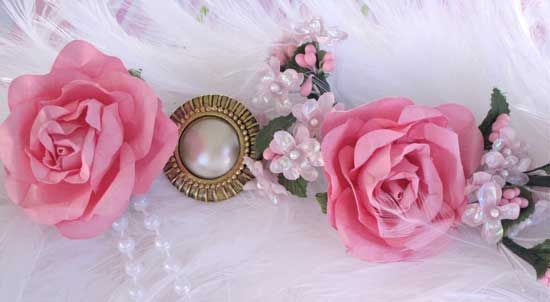
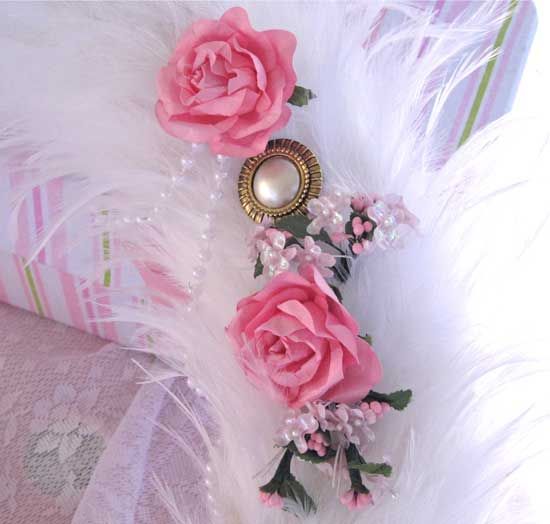
An old sweater clip glued on along with 2 more paper roses, faux pearls wrapped around it and shimmery iridescent posies.

Another view. Are you catching the vision here or have you guessed what it is yet? :-)

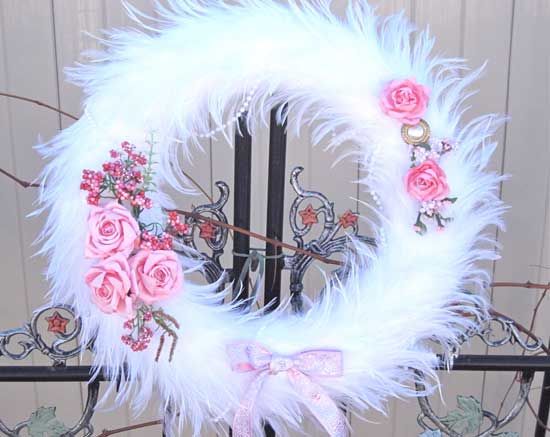
I took this picture with the sun shining and it isn't showing the beauty of the wreath but...

...this one does!! I photographed this one on the little grape arbor we have on our back fence so it was in shadow. I love this feathery wreath. I made it for my front door. Squeeeeeeeeeeealllll!!!!!

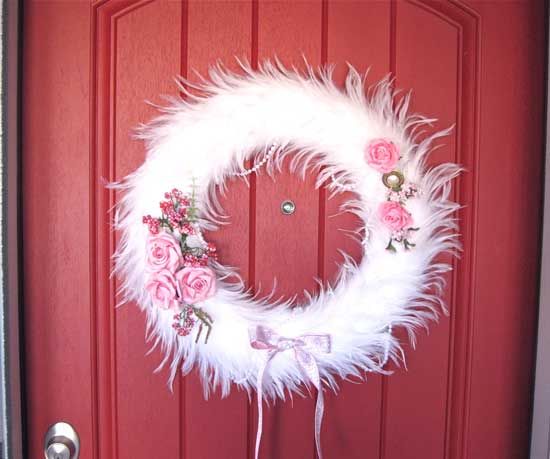
And attached to my red front door! Looks even prettier on the door and in person.
~*~

A quick update on our son for those of you who read about his ordeal (read here) in April and are asking me about him frequently.

He had surgery 2 weeks ago and is doing much better with the pain in his leg. He still has blurred vision at times, still has ringing in his ears, but this surgery repaired his knee cap, which was severely injured when he was attacked. He can bear no weight on his leg for 2 weeks (this mean crutches) and cannot work for 3-6 months. So his boss is trying to find him a job that will keep him off of his feet. That's not easy for an RN. One of the gang is in jail, two are awaiting trial, one cannot be found and one is still not identified from the gas station tape. He is truly doing just fine though. For this I am truly grateful. We are so blessed!
~*~


Saturday, November 21, 2009

Pink Shoe for Pink Saturday 11/21/09

Welcome to Pink Saturday once again. Please go visit with Beverly at howsweetthesound and view all the pink you can handle for one week.
~*~

Now for the other shoe. Some photos were taken inside and some outside on a very cold snowy morning!

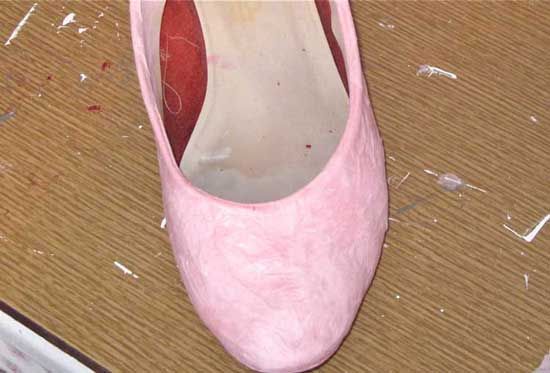
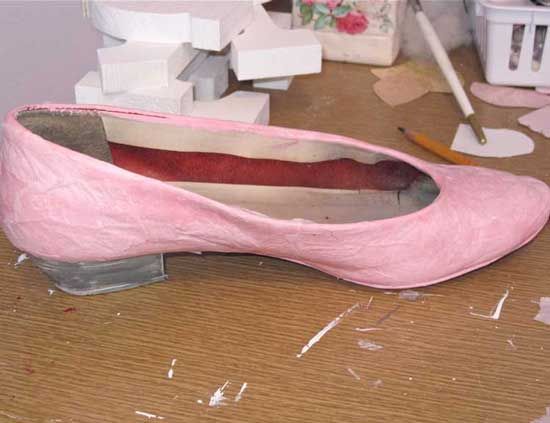
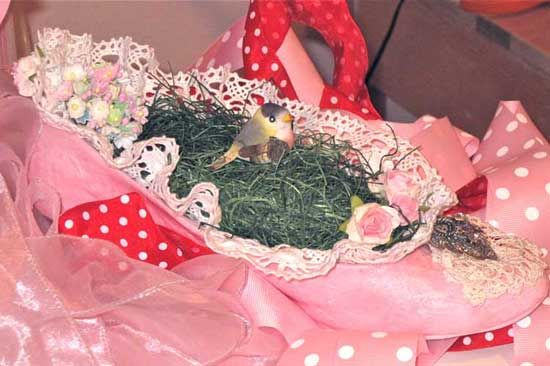
As I said, I think this one should be pink since that's my favorite color. Then a couple of layers of pink tissue paper were glued on. I'm still working on more layers.


The heel was painted white but I decided to do it in iridescent silver. That's taking a lot of coats. So far I have applied 5 coats at this point.

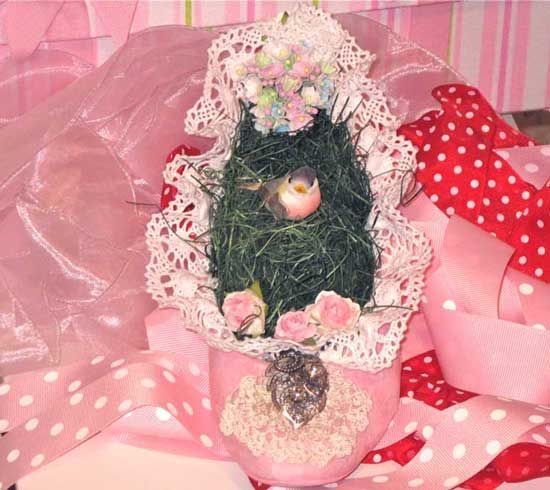
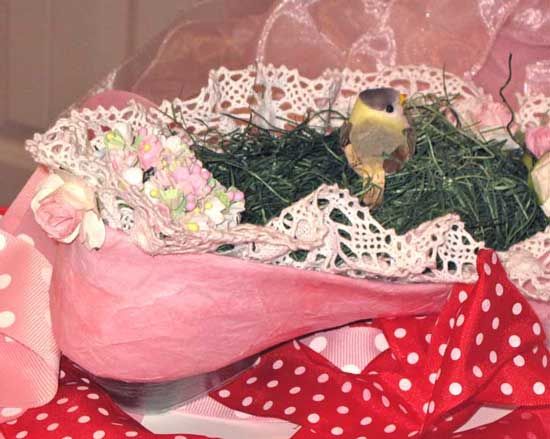
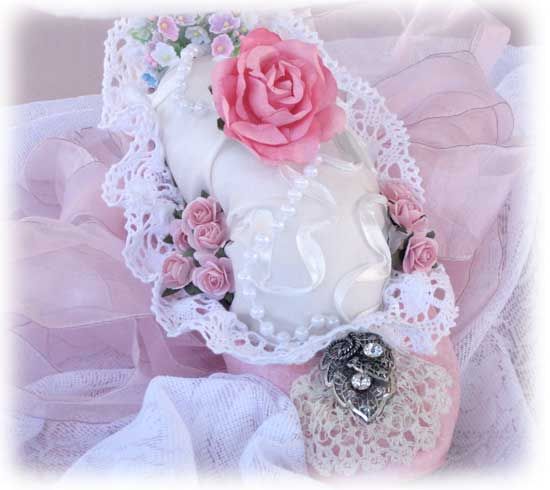
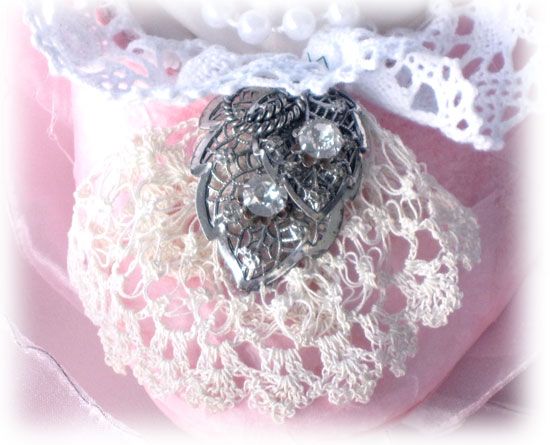
I keep forgetting to take photos as the work progresses but you get the idea. Lace, roses, vintage jewelry and a little chick.


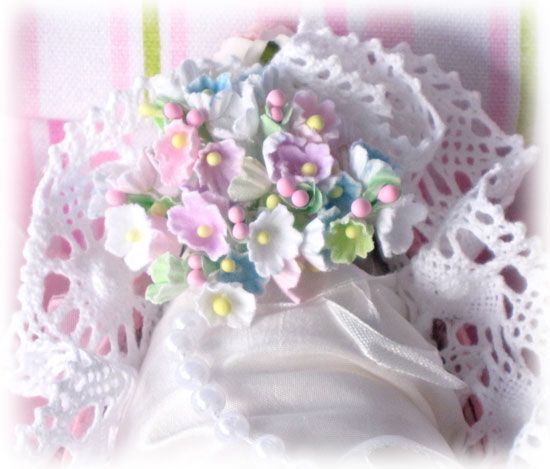
The back has some little poseys and a paper rose. I can't sell this because I actually did wear these shoes at one time and who in the world would want my old scuffed worn out shoe?!
:-)

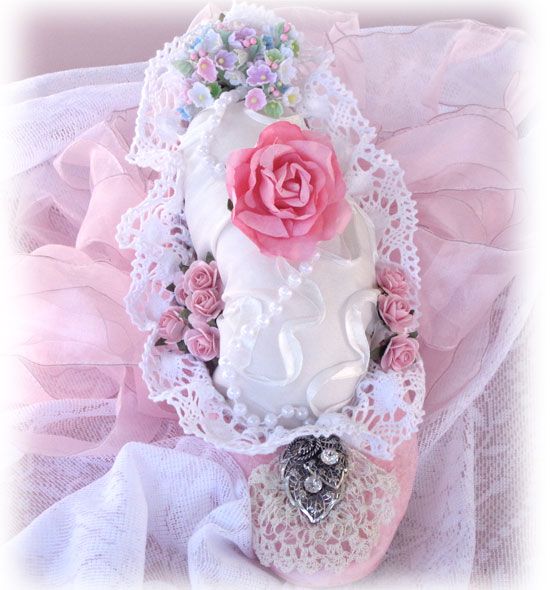
After looking at the shoe critically I asked for some feedback from my sweet eBay group. I agreed with them; it wasn't exactly what I wanted and a bit over the top with the grass and chick. So I revamped it and this is what I came up with finally. I must say I like it a lot better, although I'll have to adjust the stuffing a bit. I was in a hurry to get this on since I've been known to forget. It looks "cleaner" now. Perfect for a place in this pink house!


If I ever do another shoe, and there's much doubt about that, I'll never use tissue paper again. I believe I'd use fabric. I like working with it much more than anything else.


~*~